FAQ's
At CGC, we know that great partnerships are built on a foundation of knowledge and transparency. Your time is valuable, and you shouldn't have to hunt for the information you need to do your best work.
Our goal is simple: no inquiry left behind! We are committed to identifying and answering your most common questions before they become roadblocks.
Contact your local rep today for the latest innovations!
While both serve the same purpose of transferring ink onto the substrate, they are manufactured and handled in fundamentally different ways.
Liquid plates come in a vat of photopolymer liquid. The liquid has to be poured onto the machine and cured to the carrier backing. What is not cured is recovered, making liquid plates more cost effective and lower waste.
Sheet material comes mostly cured as a solid with the carrier backing attached. You simply cut what you need and begin the exposure process.
Liquid plates are a more sustainable option because any unexposed resin can be reclaimed, filtered, and cycled back to the vat that houses the resin and used again.
Sheet plates start out as a solid rectangle. Even if your design is just a small logo in the center, you have to "wash out" (remove) all the surrounding solid polymer to create the relief. That material becomes waste.
52 x 80
50 x 80
The standard lead time can vary depending on several factors:
- Number of colors
- Number out
- Current capacity at the time the plate order is received
Contact your local representative for current lead times.
This depends on how the plates are cared for and maintained. Printing plates can be affected by how they are cleaned and what they are cleaned with.
The life of a printing plate can depend on several factors:
- How the plates are cared for.
- The amount of pressure put on them while running on press.
Look for these conditions:
- Degraded surface
- Excessively hard (typically caused by exposure to UV light)
- Excessively soft
- Showing cracking
- Chunks of plate missing
- Text looking fuzzy or small pieces missing
- Ink collects in the "floor" of the plate
Ensure they are cleaned with PH-neutral cleaners.
Remove any ink residue.
Dry throroughly before storage.
Store in a dark area to protect them from UV light and ozone.
Pre-Print: The top liner is printed before it is glued to the fluting in the corrugator. This allows for a much higher level of detail.
Post-Print: The most common method. The corrugated board is already combined on the corrugator and the image is printed directly on the finished board.
This happens during post-printing when the pressure of the plate crushes the liner into the valleys between the flutes.
You cannot totally eliminate this in post printing but you can minimize it. You can switch to softer printing plate or a cushion mounting material such as CGC's ProFlexTM. At Container Graphics we can help you assess this and make recommedations to help you print better!
Talk to an expert today to help you print the best on corrugated board!
This starts at the computer and the initial digital approval process. Even if the art is a true color match to the color you are trying to achieve, it can look different from computer to computer as well as on the press.
Other factors for differences can be:
- The ink type and color number were not specified to the printer
- The print card art was built in PMS colors and the printer is using GCMI colors
- The color of the board can vary greatly (both kraft and white) and this will directly affect the outcome of your finished boxes
Working with our CGC Color Center can help you to improve matching to your approved color.
3-5% for direct print
The standard lead time can vary depending on several factors:
- Number out
- Waste %
- Current capacity at the time the cutting die order is received
Contact your local representative for current lead times!
This depends on the type of material you are cutting, the condition of the machine and the anvil blankets, as well as how the cutting die itself is maintained.
We do, contact your local representative today.
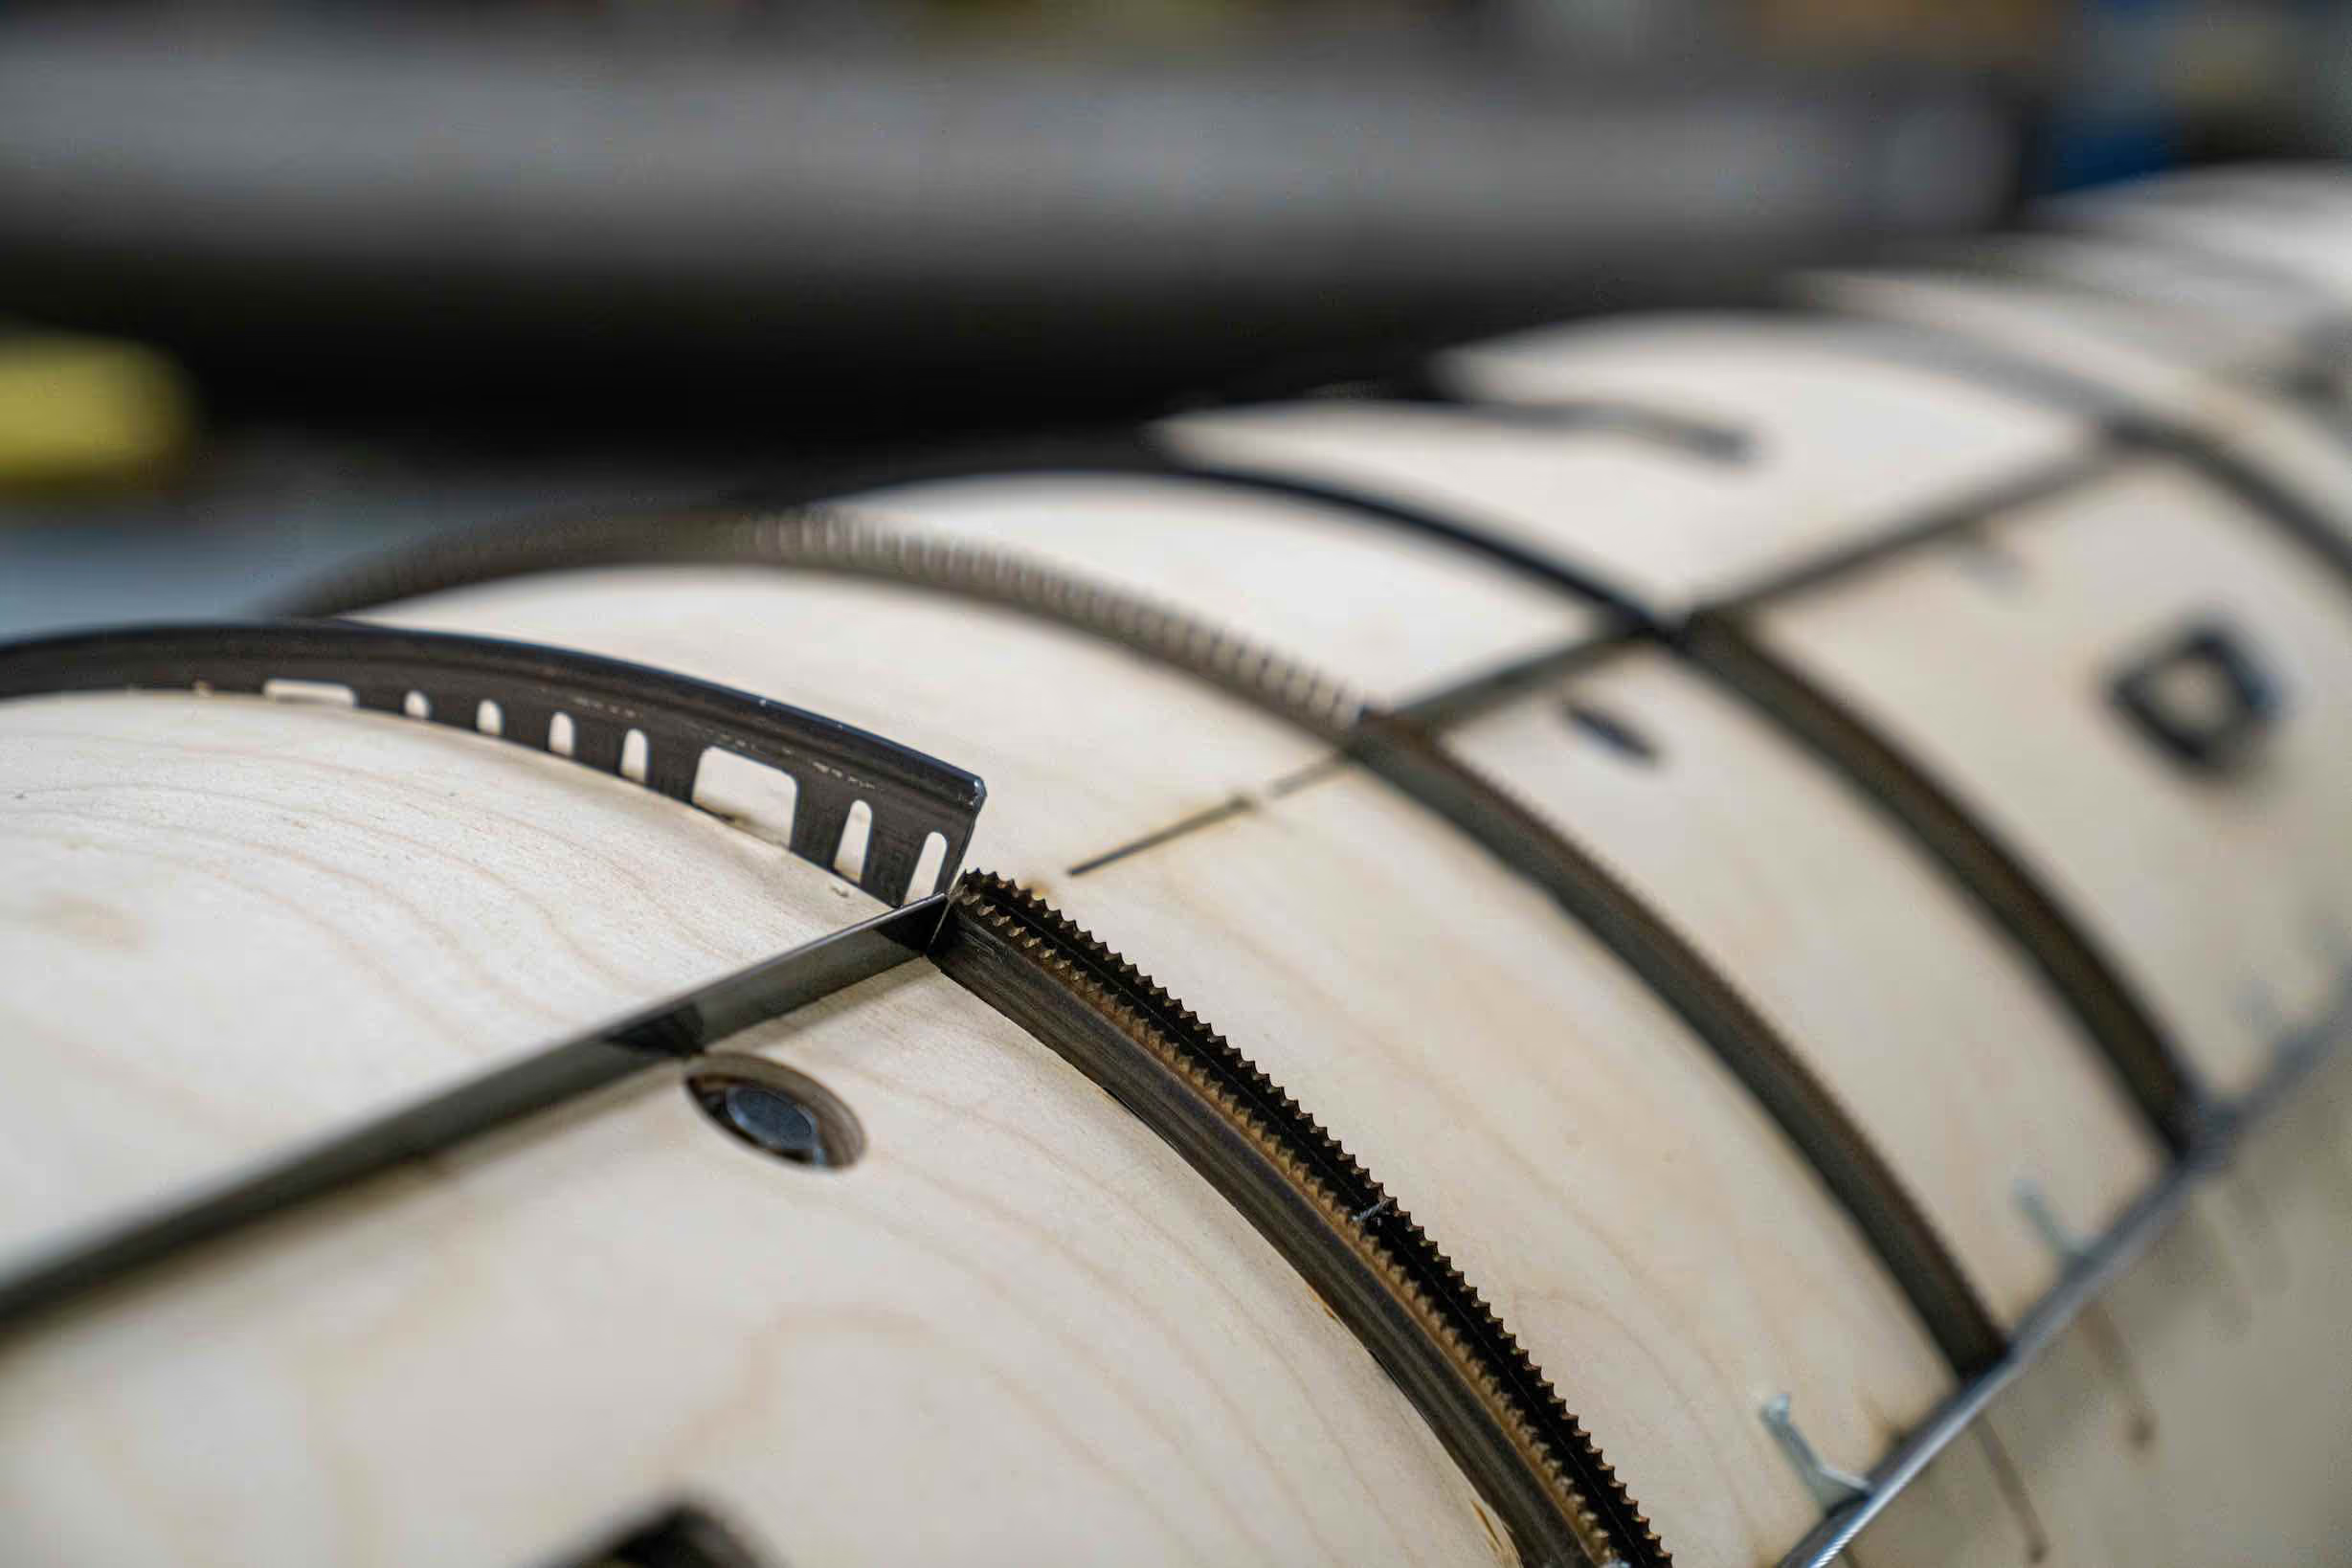
Think of a heavy-duty cookie cutter made of high-density plywood, pre-bent steel knives called rule, flat steel for scores and perf, with different densities of specialized rubber to support the ejection of the pieces of board they are cutting. The die strikes a flat surface (anvil or platen), punching out the shape of the material inbetween.
Paperboard, corrugated board, foam, felt, rubber, thin plastics and other various materials.
Some of the differences are:
- Machine they are running on and the build of the die
- Application - What they are actually making
- Set up speeds and run times
- Flat dies are for smaller runs (1-10,000 pieces) vs rotary runs which can be in the 100,000 range.
CGC has strategic partners so that we can help you navigate all of your digital needs - talk to one of our experts today.
Yes we do, click here or contact you local representative today.
Ensure that quality rubber is along each side of curve score in the flute direction. Also ensure that the die board is bolted down firmly to the die cylinder. Check anvils for highs and low spots. Check moisture in the paper.
CGC recommends Perfomax, which comes with various holding powers. Other options include Speedi rule or a standard combination of perforation. Contact you local CGC representative for expert technical input.
When the scrap strips clean, the length dimension is within tolerance and cross machine scores can be seen from the printed side - this is generally the correct impression setting.
Don't see what you're looking for?
Reach out and let us know at the link below. We'll track down the answer for you immediately and add it to our growing list of resources.